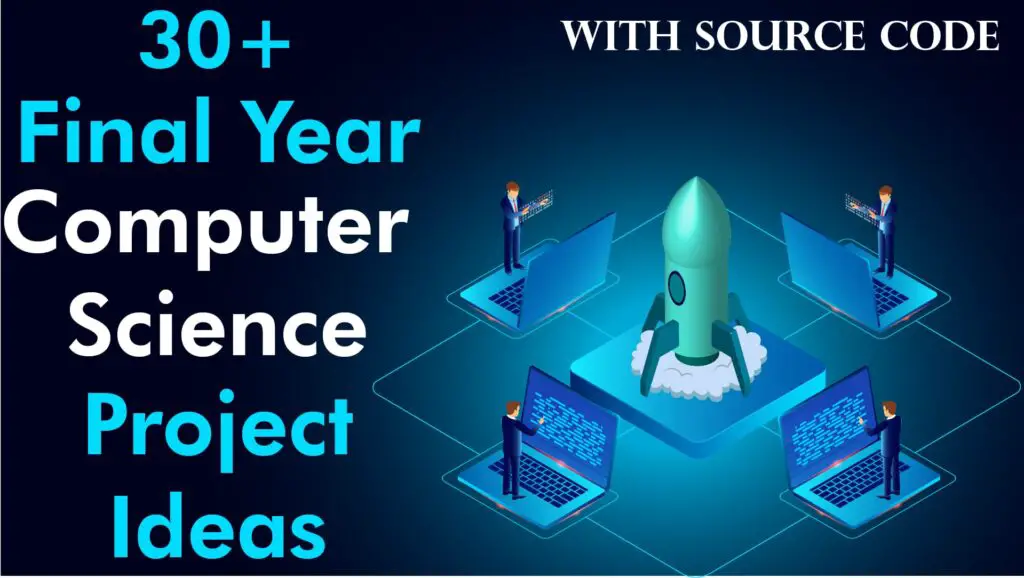
30 Final Year Project Ideas for IT Students
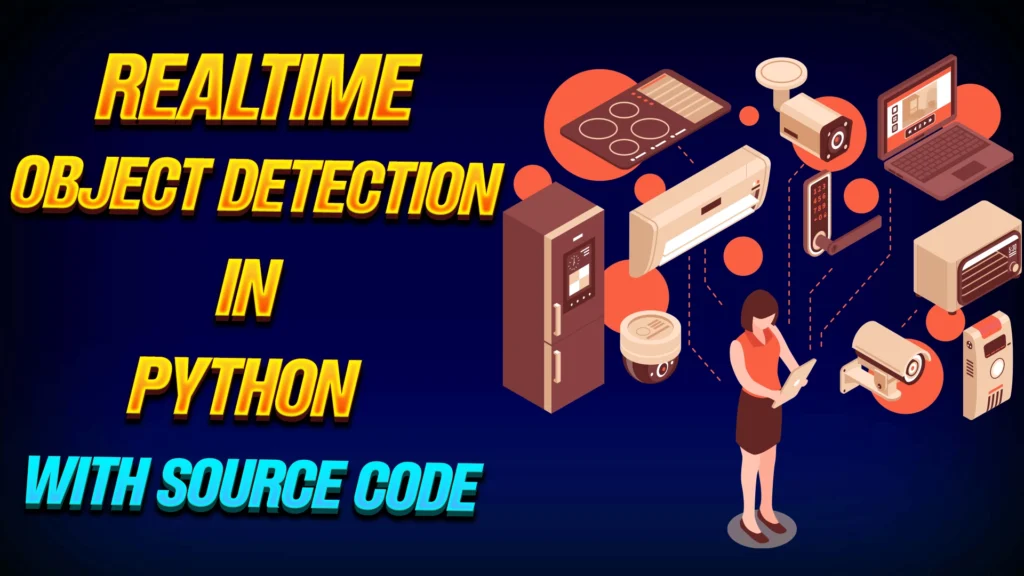
30 Final Year Project Ideas for IT Students Final Year is critical in our college and university life. Because we have to showcase all that we have learnt in our bachelor’s or master’s degrees, the showcase may be a thesis or final year project. As IT students, we must make a final year project to complete our college or university degree. The final Year project is a difficult task as selecting an idea, then documentation, and then the final year project. But in this article I have compiled 30 Creative final year project ideas. These ideas are unique and advanced. I can bet this article will make your final Year easy and chill. So, let’s dive in and explore these 30 IT projects. 30 Final Year Project Ideas for IT Students with Source Code 1. Learning Management System In my list, the first one is the learning management system. This management system facilitates all the stakeholders in an educational institution, such as students, teachers and administration. Managing many students and staff is a difficult task. In the past bookkeeper kept a records of students’ fees, attendance, teachers’ salary, and admin staff. However, it is difficult for a bookkeeper to manage all the stakeholders and facilities. As technology evolves daily, AI is revolutionizing the world, so we must change our traditional system and bring technology to our organizations and institutions. But you may think this project was done by our super seniors five years ago, and our university is also using LMS, so why should you develop this project? I am not saying you that create a simple LMS that your university already uses. Introduce new AI features such as Personalized Learning Paths, Adaptive Learning, Intelligent Content Recommendations, Automated Grading and Feedback and Predictive Analytics for Student Success. It is not necessary to build a new system every time. Sometimes, you can improve the existing one. Source Code Recommended Reading AI Music Composer using Machine Learning Real-Time Object Detection Using Machine Learning 30 Creative Final Year Projects with Source Code 2. Housing Management System Many houses are in a society, and managing them effectively is very important. The best project is that which helps people to solve their problems. This project helps house owners and society admin manage all the complaints, bills and selling their houses. The main feature of this project is the complaint system because there can be multiple complaints like security, water, laundry, etc. The housing management system can help society owners solve housing issues in society. Using AI in this system can be effective such as generating automated bills, Predictive maintenance and Energy management. This project can be a good choice for the final year. So what are you waiting for? Select this idea and get approval from your supervisor. Next, download the source code, modify it, and design it according to your choice. Source Code 3. Smart Security App Security concerns are increasing in many countries. It is necessary to use technology to tackle security concerns. You can develop an intelligent security app which automatically identifies threats from your surroundings. I have an answer if you are thinking about how an app can detect a threat. Sensors can play an essential role in this project. You can connect the sensor to your app. Suppose that when you feel threatened, you don’t have time to call anyone in a tense situation. You simply double-tap on your mobile, and the threat message is automatically sent to the nearby police station. Same as this, you can use another sensor to inform nearby threats. For the final year project, you can develop an intelligent security solution using AI and IoT that interacts with new threats. Source Code 4. E-commerce Website E-commerce means selling products via the Internet, the fastest-growing field in the world. But to sell products online, you need an E-commerce website. Making an ecommerce website is not a simple task. Nowadays, people are developing ecommerce websites on WordPress or Shopify, but creating an ecommerce website is challenging, and you can take this challenge for a final-year project. You can make this project in different programming languages such as HTML, CSS, JAVASCRIPT and PHP. You can also use the MERN stack to create an Ecommerce website. Make a beautiful ecommerce website and impress your supervisor. After your degree, you can also provide Ecommerce website development services and earn money. It means killing two birds with one stone. So work smart, not hard. Source Code 5. Smart Traffic System Traffic is a critical concern in big cities. And it affects millions of people worldwide. To solve this issue, you can develop an intelligent traffic management system that uses AI to manage the traffic system and decrease congestion intelligently. The Smart Traffic System uses data analytics, sensor technologies, and predictive algorithms to improve traffic flow, reduce congestion, and increase road safety. You can also attach it to Google Maps API to improve its accuracy and flow. By creating such a system, you can help to make cities more intelligent and sustainable, focusing on efficiency and mobility. Source Code 6. Tourism Guide System Many countries, such as Maldives, Jamaica and Sri Lanka, rely on tourism. When a tourist visits a new country or some unknown place to explore it he may be in difficulty due to no guidance. In some areas, you don’t know if an ATM is available on the mountain, if there is any washroom, or where you can camp. Is it safe to go in winter to northern areas, etc? Sometimes, more minor things can be risky for tourists. So a tourist needs proper guidance and planning such as hotel, money and security. A Tourism Guide System can meet their demands by providing personalized recommendations, interactive maps, and planning tools. To solve this problem you can develop a Tourist guide system as your final year project. Later, you can launch this system and earn money through AdSense or a paid subscription. Less is more! Source Code Recommended Reading Stock Price Prediction system